
🚀 Getting Started
Your AI Receptionist lives in your Voiply Business Premier portal. If you need help logging in, see How to Log In to Your Voiply Portal.
Once you're in, click AI Receptionist in the top navigation bar. 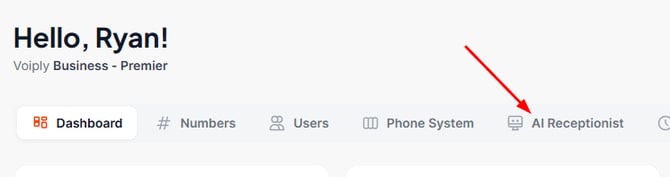
➕ Creating a New AI Receptionist
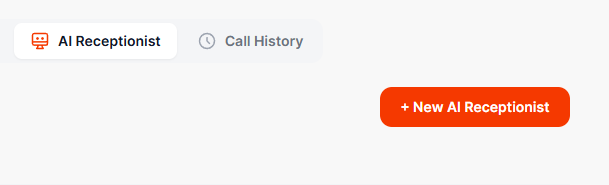
- On the AI Receptionist page, click + New AI Receptionist in the top right corner.
- A window will pop up asking how you want to get started. You have three options:
- Build from my current phone menu (recommended) — This pulls in your existing call routing and greeting so you don't have to start from scratch.
- Read my website — Enter your website address and the AI will read your site to learn about your business.
- Set up by hand — Build everything from the ground up on your own.
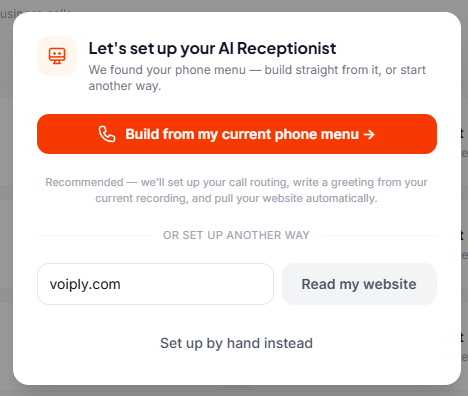
- Choose the option that works best for you. The portal will create your new receptionist and bring you to the setup editor.
📋 Step 1: Business Info
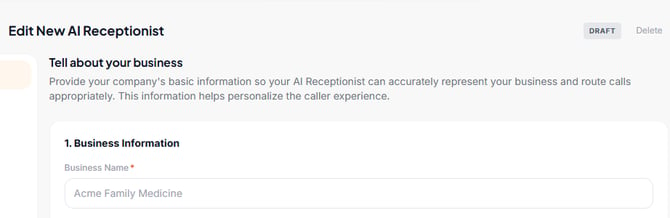
This section gives your AI Receptionist the basic facts it needs to represent your business.
- Enter your Business Name.
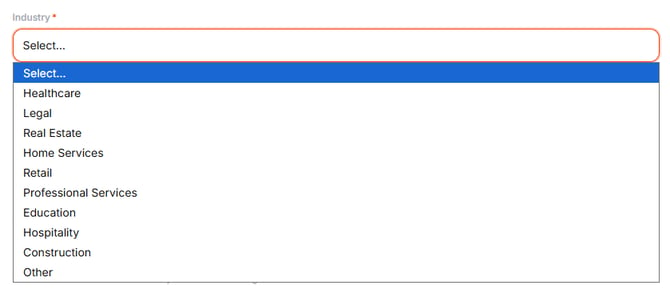
- Select your Industry from the dropdown menu.
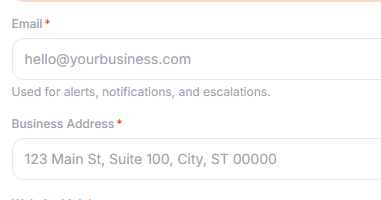
- Enter the Email address you want to use for alerts and notifications.
- Enter your Business Address.
- Add your Website Link. The AI uses this to learn about your business and suggest answers to common questions.
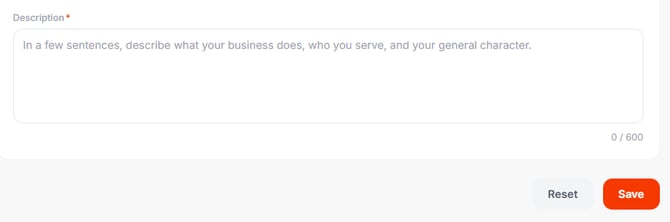
- In the Description box, write a few sentences about what your business does, who you serve, and the kind of experience you want callers to have. You have up to 600 characters.
- Click Save when you're done.
🎙️ Step 2: AI Personality
Here you choose how your AI Receptionist sounds and talks to callers.
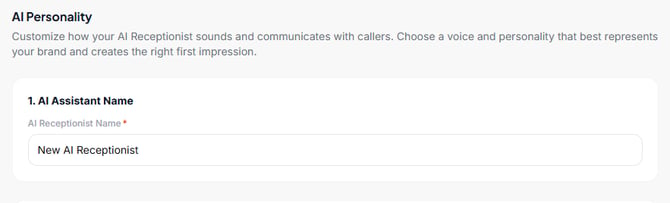
- Under AI Receptionist Name, type the name you want your receptionist to use when it answers calls. For example, "Alex" or "Front Desk."
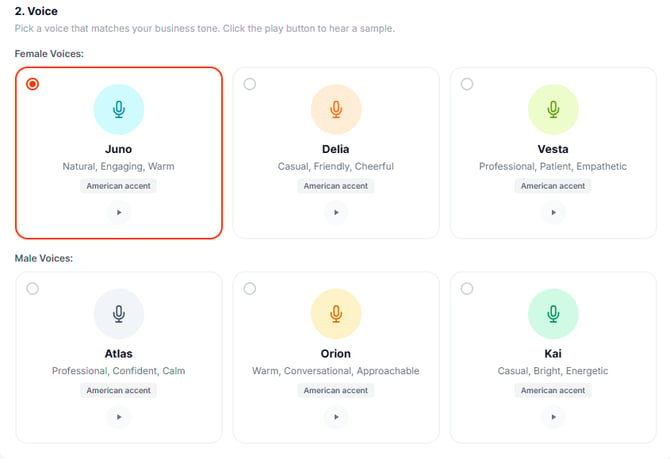
- Under Voice, listen to the samples and pick the voice that fits your business best. There are female voices (Juno, Delia, and Vesta) and male voices (Atlas, Orion, and Kai). Click the play button on any voice card to hear a sample.
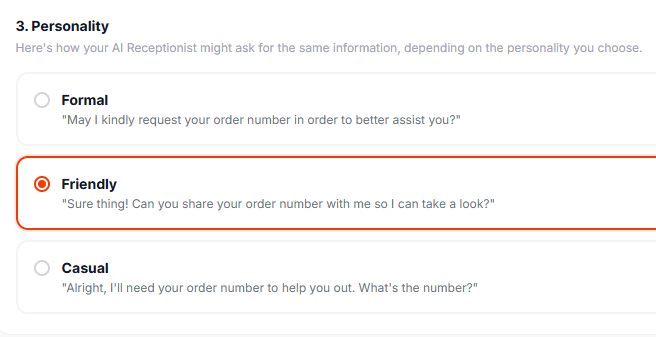
- Under Personality, choose how you want the AI to communicate with callers:
- Formal — polite and professional ("May I kindly request your order number?")
- Friendly — warm and upbeat ("Sure thing! Can you share your order number with me?")
- Casual — relaxed and conversational ("Alright, I'll need your order number. What's the number?")
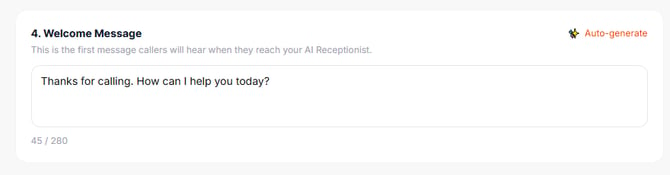
- Under Welcome Message, type the first thing callers will hear when they reach your AI Receptionist. You can also click Auto-generate to have the AI write one for you based on your business info. You have up to 280 characters.
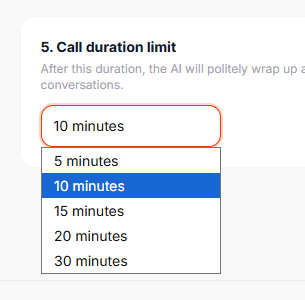
- Under Call duration limit, use the dropdown to choose the maximum length for a call. Options are 5, 10, 15, 20, or 30 minutes. After this time, the AI will politely wrap up and end the conversation. This helps prevent unexpected charges from calls that go on too long. The default is 10 minutes.
- Click Save when you're done.
🧠 Step 3: Agent Knowledge
This is where you teach your AI Receptionist what to say. The more information you give it, the better it will answer caller questions.
You can add knowledge in two ways:
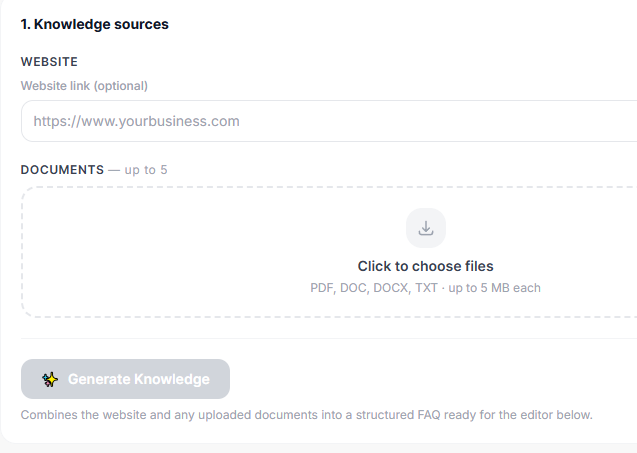
Option A — Generate from your website:
- Make sure your website link is filled in (from Step 1).
- Click Generate Knowledge. The AI will visit your site and create a draft knowledge base for you.
- Review what it generated in the text editor below and make any corrections.
Option B — Enter it yourself:
- Type directly into the Manual Entry text box. Include things like your services, pricing ranges, hours, location, and common questions callers ask.
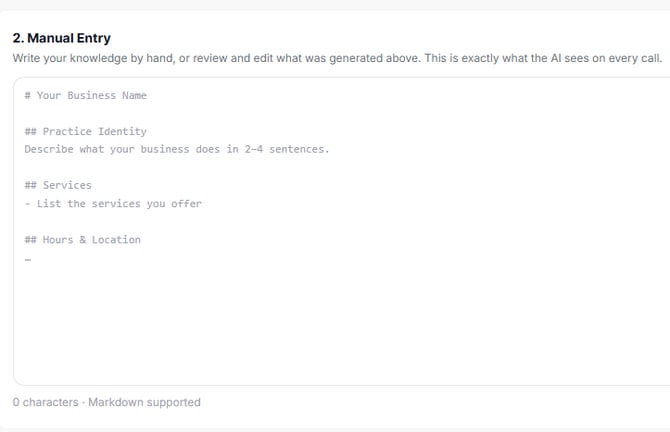
You can also upload up to 5 documents (such as a menu, rate sheet, or FAQ) to give the AI even more to work with.
Click Save when you're done.
📞 Step 4: Call Routing
This is where you tell the AI which phone number to answer and where to send callers.
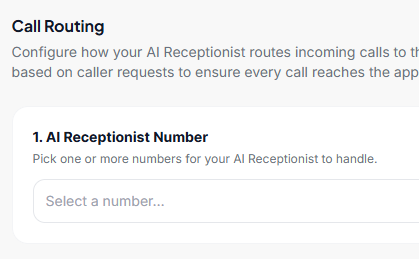
- Under AI Receptionist Number, click the dropdown and select the phone number(s) you want this AI to handle.
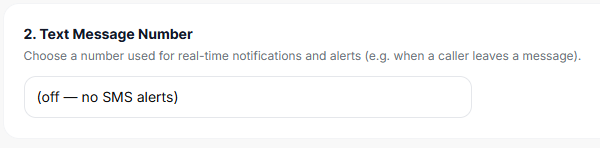
- Under Text Message Number, choose a number if you want to receive text alerts when callers leave a message. You can also leave this set to off.
- Under Call Routing, use the toggles to turn on the call queues or team members you want callers to be transferred to. For example, you might turn on your "Sales" queue or a specific person's extension.
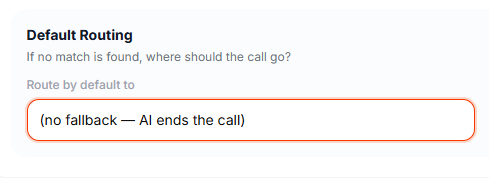
- Under Default Routing, choose what happens if the AI cannot match a caller's request to any of your routing options. You can route to a specific person or queue, or leave it set to AI ends the call.
- Click Save when you're done.
🔒 Step 5: Privacy
This section controls what information your AI Receptionist stores from each call. 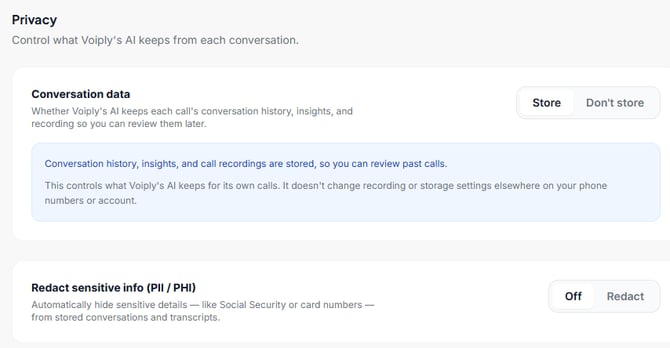
- Under Conversation data, choose Store to save call history, insights, and recordings so you can review them later. Choose Don't store if you prefer not to keep this data.
- Under Redact sensitive info (PII / PHI), choose Redact if you want the AI to automatically hide sensitive details like Social Security numbers or credit card numbers from stored transcripts. Choose Off if you don't need this.
- Click Save when you're done.
🧪 Step 6: Test Your AI Receptionist
Before going live, it's a good idea to test your setup.
- Click Test Receptionist in the left menu.
- Once your Call Routing is saved and a number is assigned, you'll see instructions for how to dial in and test your receptionist from any phone on your account.
Note: If you see a "Not active yet" message, go back to the Call Routing section, make sure a number is selected, and click Save. Then come back to this tab to test.
✅ Going Live
Once you've gone through all six sections and saved each one, your AI Receptionist will be ready to answer calls. You'll also see it listed on the main AI Receptionist page with a LIVE badge next to its name.
Still need help?
Our support team is happy to walk you through the setup.
📩 Submit a support ticket | 📞 Call us at (844) 843-4175