
Your AI Receptionist doesn't just answer calls — it also sends callers to the right person or team based on what they say. This is called call routing, and you can set it up (or update it anytime) inside the AI Receptionist editor.
How to set up call routing
- Log in to your Voiply portal at app.voiply.com/portal-login.
- From your dashboard, scroll down to the Features section and click AI Receptionist.
- Select your receptionist to open the editor.
- Click Call Routing in the left-hand menu.
Step 1: Choose your AI Receptionist number
Under AI Receptionist Number, select the phone number you want your receptionist to handle. You can pick more than one number if needed. 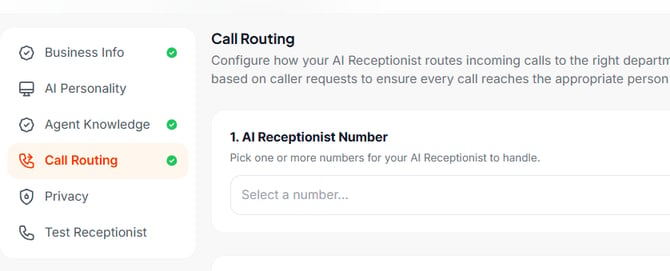
Step 2: Set up your call routing
Under Call Routing, you'll see two ways to route callers:
- Call Queues — These are groups of team members, like a Sales team or Support team. Each call queue shows its name and extension number. Toggle on any queue you want your receptionist to be able to send callers to.
- Individuals — This is a list of specific people on your account, each with their own extension. Check the box next to anyone you want to be reachable through the receptionist.
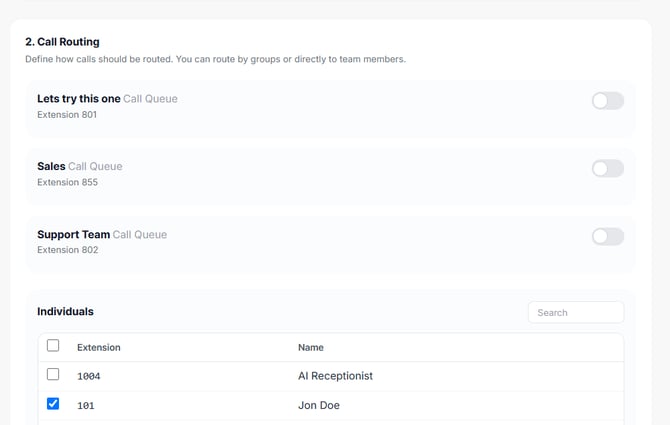
The receptionist will use what the caller says to figure out where to send them. For example, if a caller says "I need help with billing," the receptionist can route them to your Support team.
Step 3: Set a default route
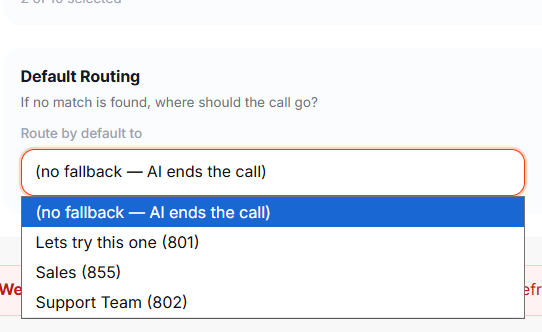
At the bottom of the page, you'll see a Default Routing section. This is what happens if the receptionist can't figure out where to send a call — for example, if a caller's request doesn't match anything you've set up.
Click the Route by default to dropdown and choose one of your call queues, or leave it set to (no fallback — AI ends the call) if you'd prefer the receptionist to wrap up the call on its own when there's no match.
Step 4: Save your settings
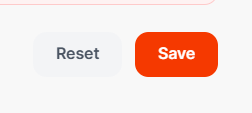
When you're done, click Save in the bottom right corner. If you want to start over, click Reset to clear your changes.
Updating routing after setup
You can come back and change your routing anytime. Just follow the same steps above: your receptionist will start using the updated settings right away after you save.
Still need help?
If something isn't routing the way you expect, our support team can help. Visit support.voiply.com.